Hot 4 Hybrid
Hello,hello it’s Andrea here bringing you another glue and stick post. Can you believe it is April already? Before we know it Summer will be a thing of the past and Christmas will be on it’s way 😆 Anyway, today I am sharing a little card that I made which I have sewed on, yes that’s right I see the fright in your eyes and I hear what you are saying – ‘use my sewing machine!!’ Good grief, there is no need to panic. Go and make yourself a coffee and see how easy it is to add extra detail to your hybrid projects using your sewing machine.
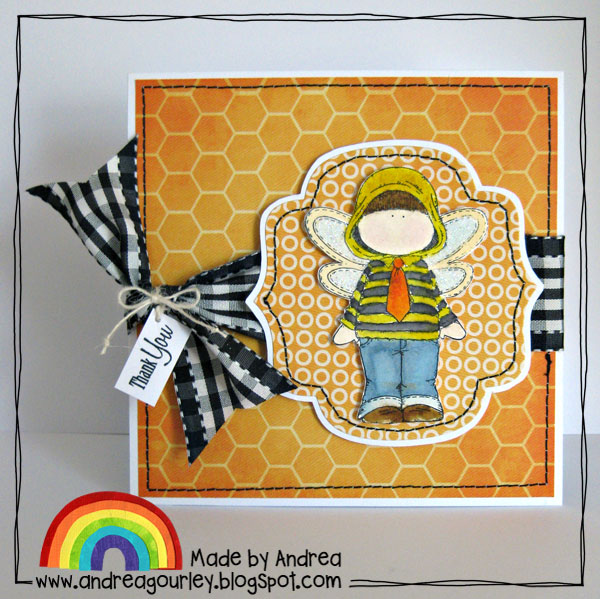
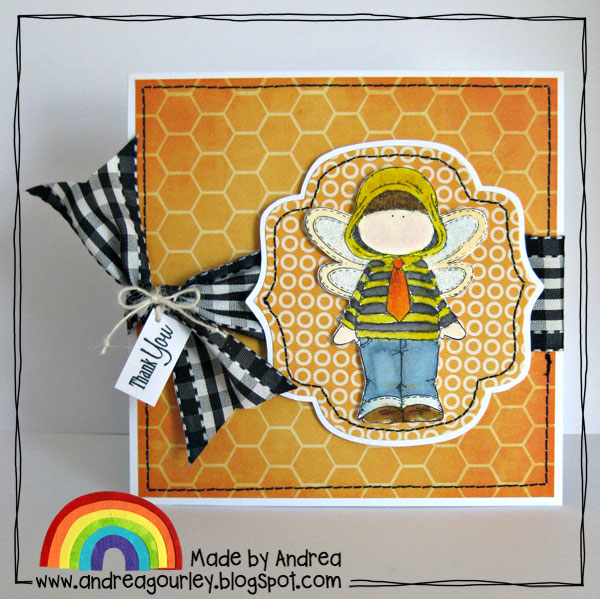
This is my card
I have used a stamped image but look in any kit and there are elements and digital stamps that you could use if you didn’t want to use a rubber stamp
This is the sewing machine I use when papercrafting, it’s a Janome Sew Mini and as it’s so small it takes up hardly any room on my desk
Print your chosen paper, trim to size and adhere to your cardblank. Thread up your sewing machine and prepare to stitch around the edge (remember to open up your card first so that you don’t stitich the front to the back – I’ve done that before 😆 ) Paper is a bit tricky to stitch on at first as it will slip a little but as long as you go slowly and have a good grip on your card to guide it through the machine then you’ll be fine. Stitch a couple of millimetres from the edge and make your stitch size quite long. A smaller stitch will create too many holes too close together and can sometimes cause the paper to tear.
When you have stitched all around trim the ends of thread and tie a ribbon around the card with a knot
Now add the next layer of your card. I used a Spellbinders nestabilities die to cut my shape but you could use a template, a digital journalling block, freehand draw a shape or use the cookie cutter tool in photoshop to create a shape. Once it was cut out I stitched around the edges of that too in exactly the same way – just go slowly and to get around the curves and corners make sure your needle is down in the machine before you lift the foot so that it twists without moving away from the stitching line.
Add foam pads to the back and attach to the card
Next look at your stamped image, digital stamp, element or embellishment and see where you can add some extra oomph to it. I stamped my Hanglar stamp on watercolour paper and coloured it with distress inks from Ranger but if you had printed an element from a digital kit you would be at the same stage as me now. I looked at his wings and decided they could have a little bit of sparkle added to them
I used a glue pen and glamour dust glitter which is super fine and extra sparkly
See those little extra bits of glitter that have gone where they shouldn’t have, wait for the glue to dry then brush off with a dry paintbrush
When it is dry add to the card using foam pads
Next I wanted to make a little tag to carry the sentiment and again I used a rubber stamp. Mine is a clear stamp which means it is unmounted and you’ll need to attach it to a clear acrylic block (your craft shop will stock them beside the rubber stamps). The benefits of clear stamps are that you can see through them so you can see where you are stamping and because they are unmounted they aren’t as bulky to store and also tend to be cheaper than the traditional wood mounted stamps
Attach your stamp to the block (they cling by themselves), lightly tap your ink pad over the stamp and press firmly onto your cardstock.
Trim the sentiment, punch a hole and tie onto the ribbon knot
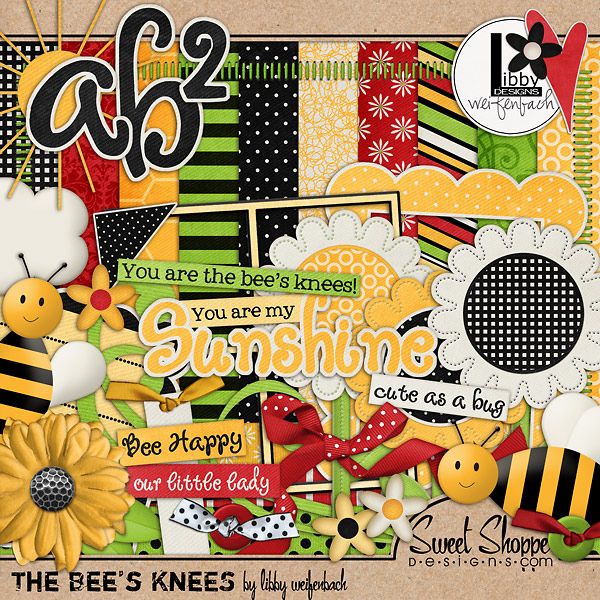
To make my card I used Bees Knees kit by Libby Weifenbach




la said...
on April 7th, 2010 at 10:54 am
you are amazing <3
Lmccandless said...
on April 7th, 2010 at 11:45 am
Wow, this is fantastic! Very inspiring! 🙂
blurooferika said...
on April 7th, 2010 at 12:28 pm
Cute card, Andrea. I am envious of your stitching ability. Still, you make it look do-able and getting over the fear of learning something new is half the battle.
Jackie said...
on April 7th, 2010 at 12:30 pm
Just beautiful! Thank you!
AllieP said...
on April 7th, 2010 at 2:08 pm
Super super cute card!
Lizzy257 said...
on April 7th, 2010 at 2:39 pm
Fantastic tut Andrea. Thanks for posting the screenshots and detailed step by step, so idiots (aka me) can follow, lol!
Kellie said...
on April 7th, 2010 at 4:30 pm
Thanks for sharing, Andrea! You are awesome!
SaraL said...
on April 13th, 2010 at 2:33 pm
Just a prefect tut and card, as ever…! x